
A resin-bound driveway is a popular choice due to its durability and aesthetic appeal. But can you DIY it? Let's find out!
Resin-bound driveways are known for their smooth and permeable finish with minimal maintenance. While most people hire professionals for installation, some choose to DIY.
Before you jump into DIY mode, there are a few things to consider. Do you have the skills and expertise? Installing a resin-bound driveway requires careful preparation. Mistakes could lead to an uneven or weak surface.
Also, you need the right tools. Mixers, trowels, screeds, and rollers are essential. Do you have access to these? Purchasing or renting the tools can add cost.
Think about the scale of your project. If it's small or patching existing surfaces, DIY may be doable with some research and practice. But for larger areas or intricate designs, it's best to leave it to the experts.
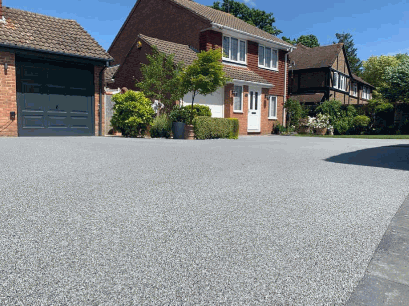
Table of Contents
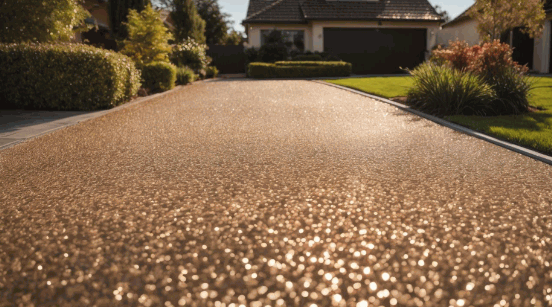
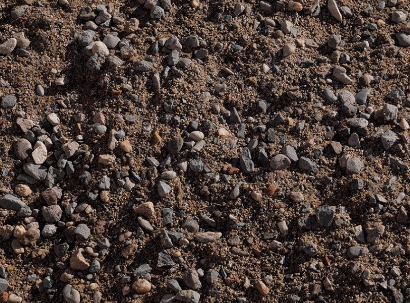
A resin-bound driveway is a great choice if you're looking for a stylish and durable surface for your driveway. It's made from mixing natural aggregates, such as gravel or stone, and a resin binder. The mix is then applied on a stable base, resulting in a smooth finish.
Resin-bound driveways are eco-friendly as they promote water drainage and reduce the use of sealants with harsh chemicals. They're also long-lasting and cost-effective.
So why not spruce up your driveway with the aesthetically pleasing and functional Resin Bound Driveway today? Get the best of both worlds in one amazing package!
DIY resin-bound driveways are a unique way to enhance the visual appeal of your property. Plus, they are resistant to cracks, chipping, and fading, so they last longer! They also require minimal maintenance - just regular sweeping and power washing.
In addition, DIY resin-bound driveways have excellent permeability, which prevents flooding. And, you can customize the designs with a variety of colors, patterns, and textures. Plus, it's budget-friendly since you don't need to hire contractors.
Plus, DIY resin-bound surfaces offer excellent slip resistance, UV resistance, and a smooth driving experience. One homeowner shared their experience with a successful DIY resin-bound project. They followed step-by-step instructions and their neighbors were impressed with the outcome.
For a successful DIY resin-bound driveway, you'll require certain materials and tools. Here are three must-haves:
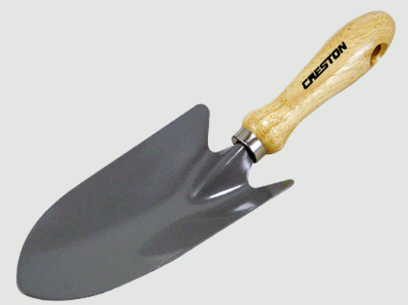
Plus, you may want to get a wheelbarrow or mixing bucket, leaf blower, and safety gear such as gloves, goggles, and knee pads.
Remember, the exact amounts of materials and tools may vary based on project size. So, measure your driveway area carefully to make sure you've got enough supplies.
Pro Tip: Carefully read the instructions for both the resin product and tools you'll be using. Also, follow safety protocols for a successful outcome.
Individuals can create resin-bound driveways themselves, without needing professional help. With the right materials and steps, you can get a beautiful and durable driveway that increases your property's worth.
First, make sure the area you're installing the driveway on is clear of vegetation and debris. This allows proper adhesion and a longer lifespan. Get rid of any existing surfacing and flatten the ground.
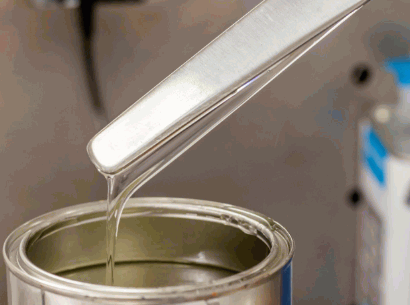
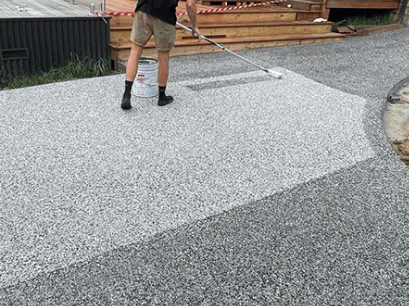
Next, mix the resin and aggregates according to the manufacturer's instructions. Apply it evenly with a trowel or squeegee, working in small sections to ensure accuracy. Smooth out the top with a trowel or float.
Wait until it's cured before any foot or vehicle traffic goes on it. Check the manufacturer's guidelines for curing times and maintenance tips.
Remember to wear protective gloves, safety glasses, and appropriate footwear while working with resin-bound mixtures.
Learn more: How To DIY Resin Driveway
After laying a resin-bound driveway, curing and sealing is essential to ensure its strength and endurance. This involves taking measures to protect the surface from weather, UV rays, and wear. Curing and sealing the driveway not only improves its look but also makes it resistant to cracks and stains. For successful curing and sealing of your resin-bound driveway, follow these steps:
Maintenance is also paramount in keeping the quality of the driveway. Avoid sharp objects and heavy machinery as they may cause dents or scratches. Clean spills or stains with mild detergent and water. By following these guidelines, you can make sure your resin-bound driveway remains strong, attractive, and long-lasting. Don't miss out on improving your property's aesthetics and value by neglecting this essential step in DIY construction. Now, take pleasure in your newly installed resin-bound driveway by properly curing and sealing it – your investment deserves the best care!
Sweep your resin-bound driveway regularly to remove any debris or loose particles. This will help keep its look and stop dirt from getting stuck.
Don't use sharp objects or heavy machinery on the driveway, as it could harm the resin-bound surface. Use a soft-bristled broom or a pressure washer on a low setting to clean instead.
To prevent weed growth, apply a weed killer that is designed for resin-bound surfaces. This will stop weeds from taking root and keep the driveway in good condition.
If there are any stains or spills, address them quickly. Wipe them away with a mild detergent and water solution to stop staining. Don't use harsh chemicals that could damage the resin surface.
Regular maintenance not only increases the lifespan of your resin-bound driveway but also boosts its aesthetic appeal.
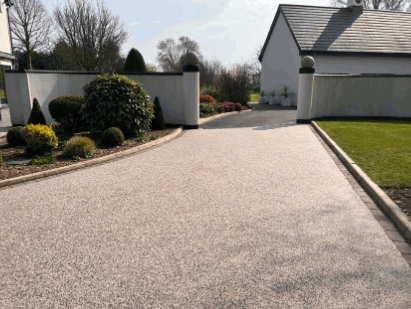
DIY resin-bound driveways are an option for homeowners wanting to boost their property's curb appeal. With the proper tools and materials, creating a stunning and practical driveway is possible.
Before installing, it's essential to prepare. Clear the area of any debris and make sure the surface is level. Then, apply a primer so the existing surface and the resin-bound mixture bond. Mix the resin and chosen aggregate, then spread the mixture over the prepared area. Use a trowel or roller to even out any lumps or flaws.
Remember, the resin-bound mixture needs time to cure before use. This usually takes 24-48 hours, depending on the weather.
Pro Tip: If the project is large or complex, it may be best to hire an expert. They can tackle any issues that may arise while installing, saving you time and effort in the long run.