
Table of Contents
Isn't that an irritating sound? Not only do you have to put up with the everyday stresses of being a full-time mum now you have to listen to the none stop sound of dripping water! Well it's time to fight back against this common household problem. The usual suspects come to mind, taps. But it's more common for the constant drip, drip, drip sound is actually coming from a leaking shower. The noise emanating is enough nuisance to drive you nuts. But if you have realized that your leaking shower could waste up to 5500 liters of precious water annually, it's bad for your bills and for Mother Earth too.
This time it time to find out how to fix a leaking shower and act as a shower detective. This is because there are many probable causes of your shower leaking. You should go through them one by one, so you'll get to the root of the leaky shower problem once and for all. How to fix a leaking shower is no easy matter.
First things first. Before you grab the toolbox and start attacking your shower with a hammer. Turn off your main water source tap to avoid being splashed in the face or any other unnecessary and unpleasant surprises. Don't also forget to put off the hot water supply so the chances of being scalded will be zero.
Depending on your water system design, the hot water cylinder could be located in the same location or in a different place as that of the main tap.
But most probably, you'll locate your hot water isolation valve at an airing cupboard. If you can't find or don't have access to this. Contact the relevant authority (building manager for example) or a qualified plumbing and heating engineer to take a look at this job for you. Sometimes it is best to leave it to the professionals.
Now, after this has been resolved. Let's get started.
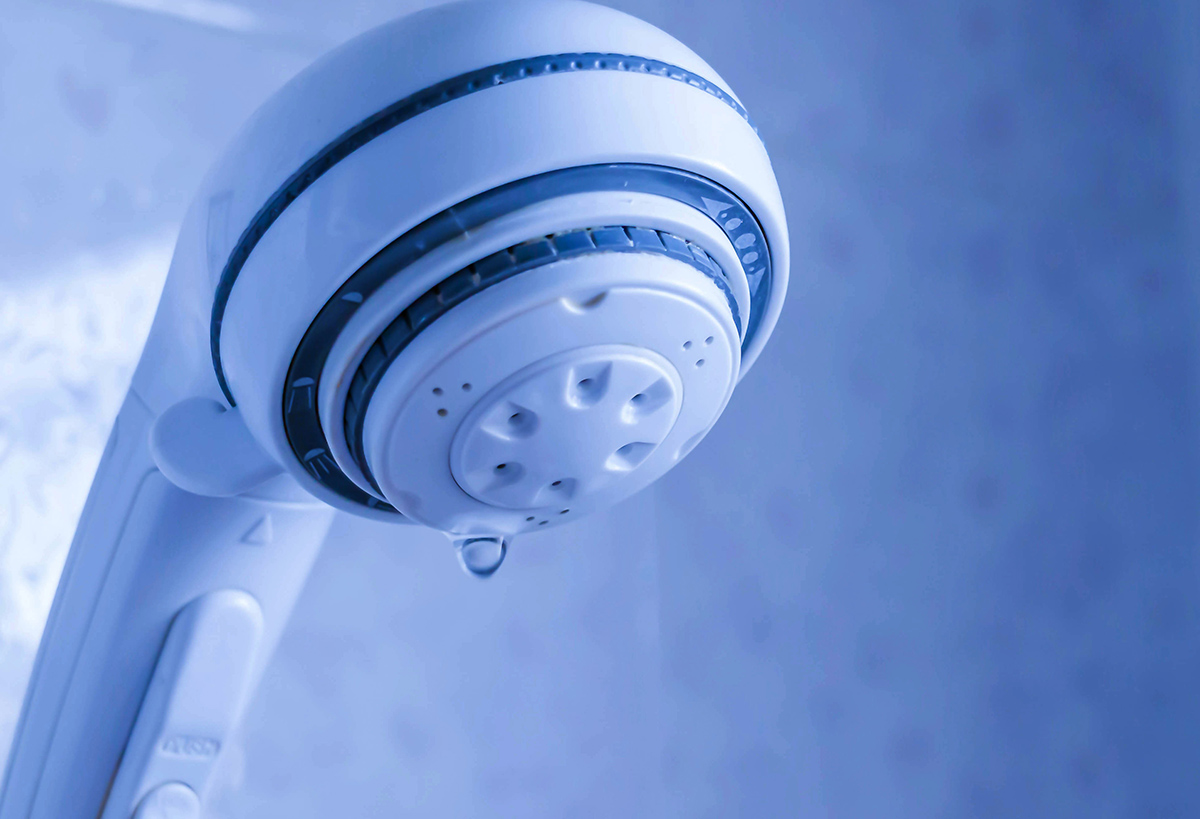
Take off the showerhead from the hose and make sure that the O-ring or the rubber washer doesn't get lost.
Soak the showerhead in vinegar for about 30 minutes. Then rinse with water and make use of an old toothbrush to remove hard to get grime, dirt and limescale. Be detailed in cleaning the individual nozzles.
Rinse again, then reattach the showerhead and put on the water to clean out any remaining dirt or grime.
If it stops leaking, then the problem has been solved. If it's not solved, find other answers.
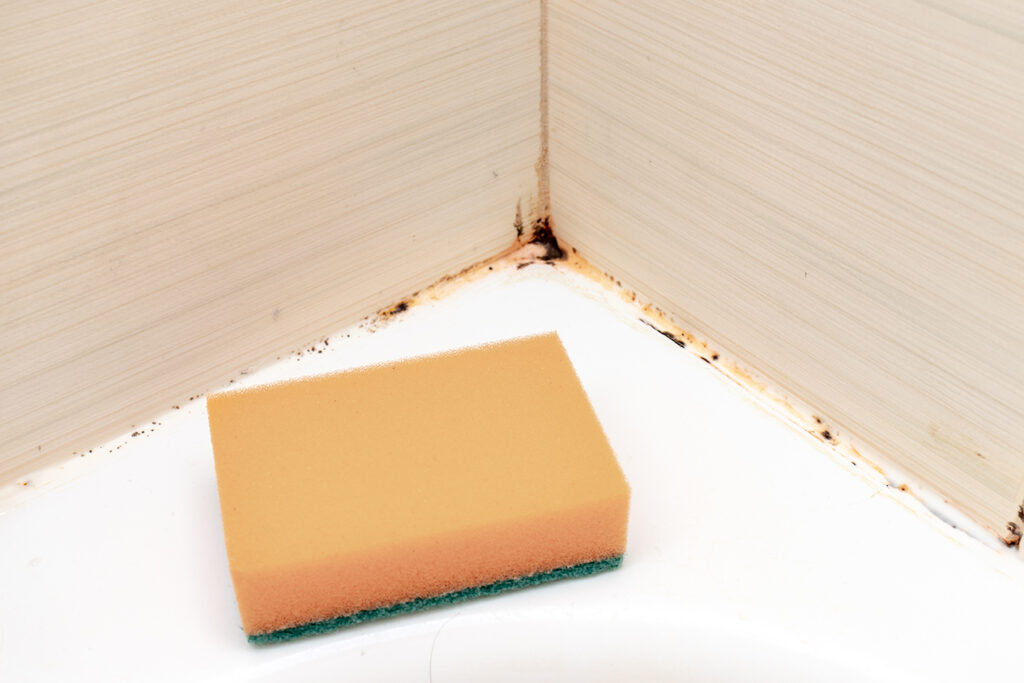
A shower leak can happen at the joint that's between the shower tray and the bathroom walls. This should be due to the moving of the shower tray which induced sealant issues. If the adhesive was poorly applied or if mold has developed in the sealant, or there are defects on the shower seals, anyone of them could be the cause for the leak.
Or if you've noticed paint patching off the wall or an unsightly stain on the ceiling just under your shower. Those are all possible culprits of your leak.
Put in new quality sealant on the shower tray, repaint the stained last of the ceiling and remove the mold. If the leaking stops, problem solved. If the leaking continues, something else is wrong.
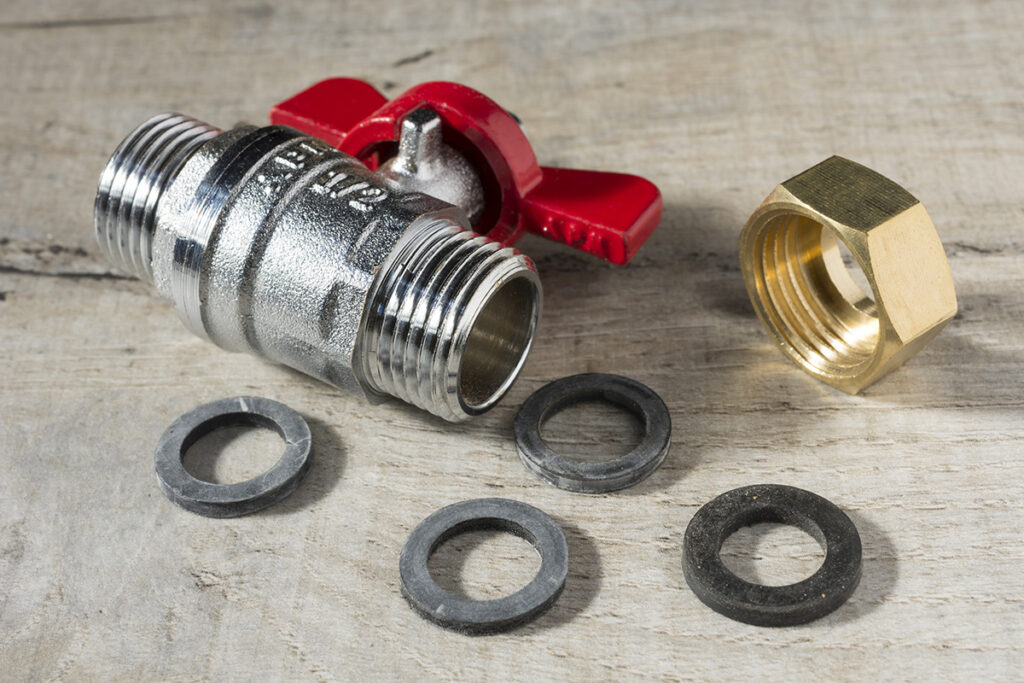
The O-ring or the rubber washer should be the shower part that stops water from dripping between the showerhead and the hose. If it's damaged or worn, it's time to make a replacement with a brand new one.
So, if the leaking stops after the replacement, you can now rest. But if the leaking continues, move forward.
This can also be the culprit.
Firstly, as always advised, put off the main water supply, to prevent being scalded if anything loose comes off.
Remove the mixer valve handle. What holds it is either a screw below a screw cover at the front of the handle or a small screw set located at one side of the handle.
Get the screw cover by using a screwdriver (flat head) to loosen up the side. Then get the mixer valve faceplate and set it aside. Thereafter pull off the stop tube that you'll find behind the faceplate.
Get the cartridge. There are several kinds of cartridges. Some cartridges are set in with a round metal ring. So you will need to be unscrewing it counterclockwise.
Other cartridges have their own key which can be taken off by pulling it out vertically. When the retaining screw is removed, get hold of the cartridge barrel using the water pump pliers and pull it towards you.
Insert replacement cartridges. Make sure you purchase the correct ones. Also change the key or ring that secured the cartridge into place. Also, replace the faceplate and also the chrome stop. Now, install again the handle and screw covers.
After faithfully following these steps and the showerhead is still leaky, the probable problem would be your valve which is in your shower taps.
If there are two separate taps for hot and cold water, analyze which one is leaking through touching the temperature of the water that's dripping.
You must turn back on the main water supply tap and later turn it back off if you've already finalized which tap is the culprit for leaking.
Get the screw of the handle of the detected tap and replace the rubber washers with the O-rings to be ensured that you've everything completely and you've not left out any procedure. Turn back on the main water supply tap and check again.
If there's still a leak, move on.
The solder connections of your shower or tub might be fitted incorrectly or are already ageing because of use.
There might be chips or gaps in your tile grouting that induced fractures and cracks in the middle of the shower tray and the wall. Solve this by regrouting.
Scrape out the ageing or loose grout. Then mix the fresh grout and then apply when you have a fresh new area to work on.
It could happen that the build-up of pressure caused water to leak out from your shower bottom. The pressure could increase if the shower hose is inhibited.
Most new showers have a pressure relief mechanism wherein if the ongoing pressure in the hot water tank is too high, it is activated, causing water to flow out and gush out of the valve at the bottom of your shower unit.
Solve this problem by clearing the blockage.
You simply must be patient in dealing with a leaking shower. This is because you must go through all the possibilities before you can consider it solved.
We have extensively covered all possibilities and it's up to you to start the process of stopping the pesky leak and save you a lot of money from continued water wastage.
Thank you for reading this article on how to fix a leaking shower! We hope you have been provided with all the information that you need. While you are here why not head over to our ever growing blog section and read some of our other articles including, How to DIY Kitchen Remodel and DIY Floating Kitchen Shelves: Ultimate Guide!